Auto captions, step by step
Transcribe and burn animated captions into several videos - pick a style, confirm the batch placement, transcribe, review, then start the render.
Auto captions transcribes your videos and burns animated captions into them, several videos at a time. Style and position are set once for the whole batch, each voice can get its own color, and you correct the transcript before anything is burnt in. Five steps: Upload, Configure, Transcribe, Review, Export.
Step 1: Upload
Drop your videos, a folder or a ZIP into Videos to caption. Lone audio files are skipped: only videos are captioned. Click Continue to the settings.
Step 2: Configure
The style
Under Caption style, pick a preset:
- Neon conversation: three words at a time, a neon color per voice, glow and outline.
- Plain: white, crisp outline, no glow or animation.
- Impact: one word at a time, very large, thick outline.
The Appearance section refines every detail: Caption font (or Upload a font, TTF, OTF, WOFF, WOFF2), Text size, Uppercase or Original case, Outline and shadow, Neon glow, Words shown at once, Light animation (a 120 ms fade). As soon as a setting departs from the preset, the style becomes Custom. Captions always fit on a single line: a long sentence is split into several successive captions. Confirm with Confirm the batch style.
The placement
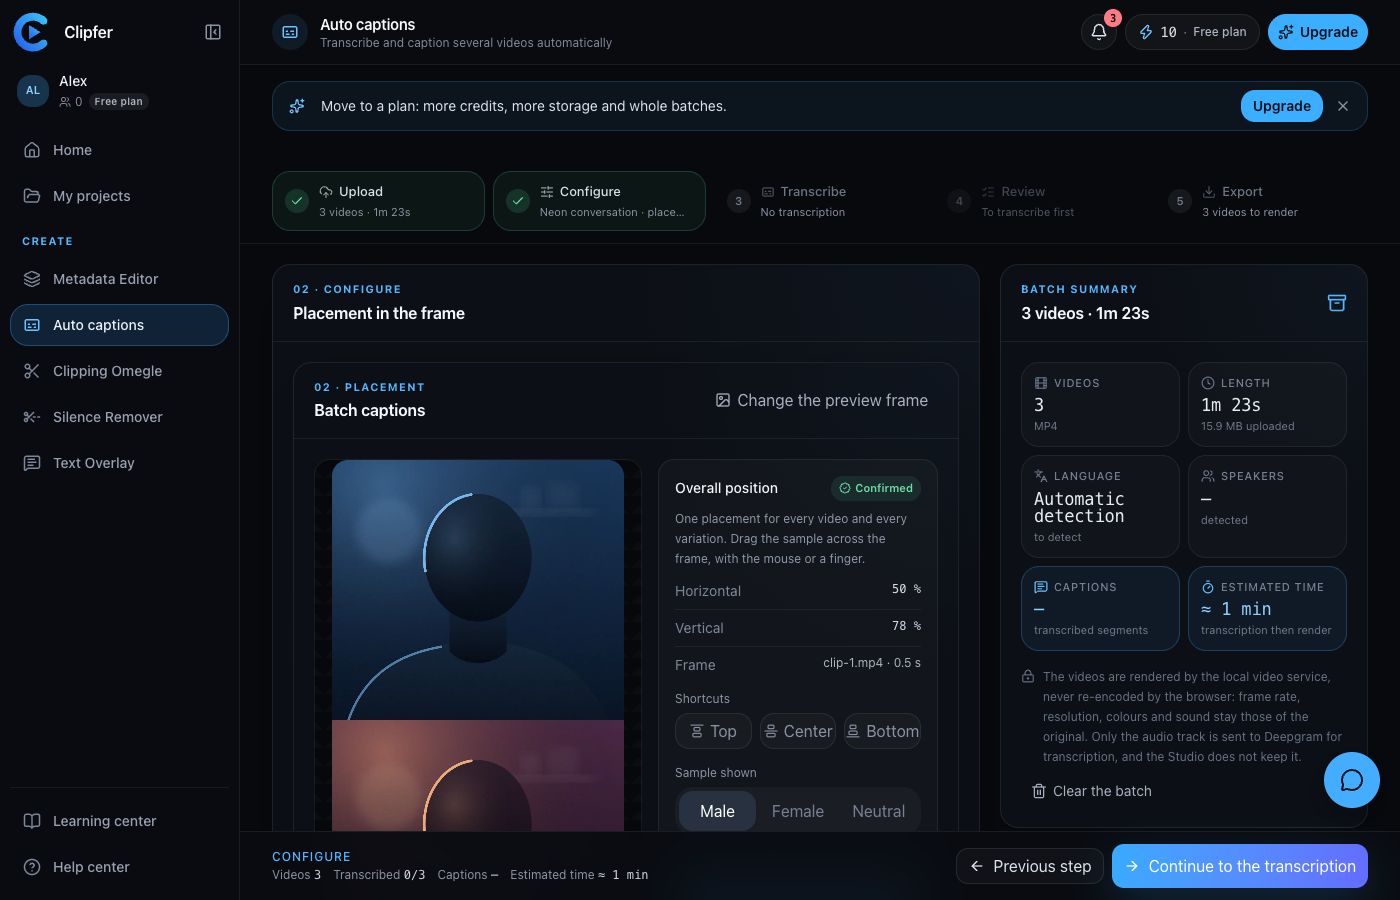
Under Placement in the frame, a sample caption sits on a frame from one of your videos. Drag it with the mouse or a finger, or use the arrow keys. Change the preview frame lets you check another moment or another video. One placement applies to every video in the batch; if the batch mixes vertical and horizontal formats, the position is applied proportionally. Click Confirm the batch placement: it is required before moving on.
Language, speakers and side files
Under Language, speakers and detailed settings:
- Transcription language: Automatic detection, French or English.
- Detect the speakers automatically: each voice gets a color role from its timbre (Female voice, Male voice, Uncertain voice). It is a visual cue, not an identification of people.
- Use white when unsure: an unresolved voice stays white instead of being colored.
- Also export the SRT and VTT files: in addition to the burnt-in captions, never instead of them. Upload SRT/VTT files reuses existing captions, matched by video name.
Step 3: Transcribe
Click Transcribe. Only the audio track of each video goes to Deepgram; the video stays in your private space. The Match the speakers section then lets you listen to a sample of each voice and set its color for the whole video. Audio already transcribed the same way is not billed again; changing the language or the speaker detection needs a new transcription, and the tool tells you so (Redo N transcriptions?).
Step 4: Review
This step is optional but worth it: you fix a word, adjust a start or an end, hide a caption, rename a speaker or replace a term across the batch. It is detailed in Correcting the transcript.
Step 5: Export
- Click Start rendering and confirm the cost.
- The video service burns the captions in without re-encoding the rest: frame rate, resolution, colors and sound stay those of the original.
- Download each video, a selection, or Download everything (ZIP). Retry the failures reruns the failed videos.
A video with no detected speech is exported without captions, and the tool says so. If you correct captions after a render, the warning Captions changed since this render appears: Re-render the changed video brings the archive up to date.
Cost
1 credit per minute of video, every started minute with a 2-second allowance, transcription included within your plan's minutes. A failed video is refunded.